Josh Hall Furniture
  • Home
  • About
  • Portfolio
    • Seating
    • Tables
    • Misc
    • Storage
    • Built In
  • Contact
  • Exhibitions
  • News
  • Blog

Happy New Year....2016.

1/1/2016

0 Comments

 
Picture
I want to start by saying happy new year to you all and I hope you have a great 2016.

Over the last year and a half I have been working full time as a cabinet maker, primarily making fitted interiors, as well as free standing furniture. During this time I haven't done much of my own work. During this next year I want to do more of my own work to enhance my portfolio of work and develop my design and problem solving skills. The type of work I want to make is more smaller, free standing pieces of furniture, small runs of products which can be batched out and small pieces of fitted furniture.

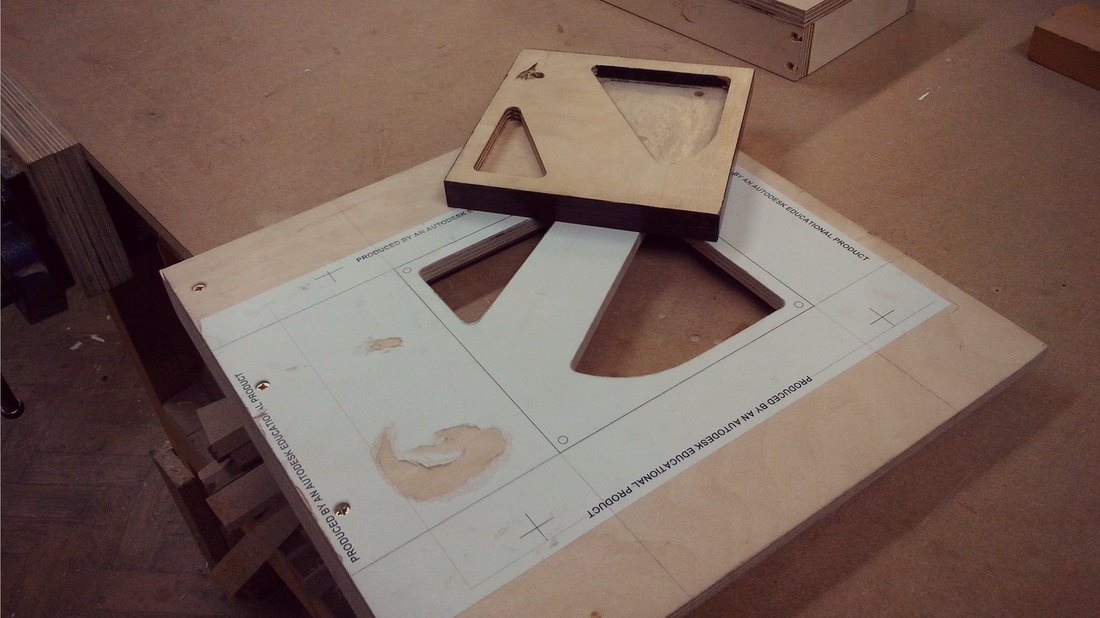
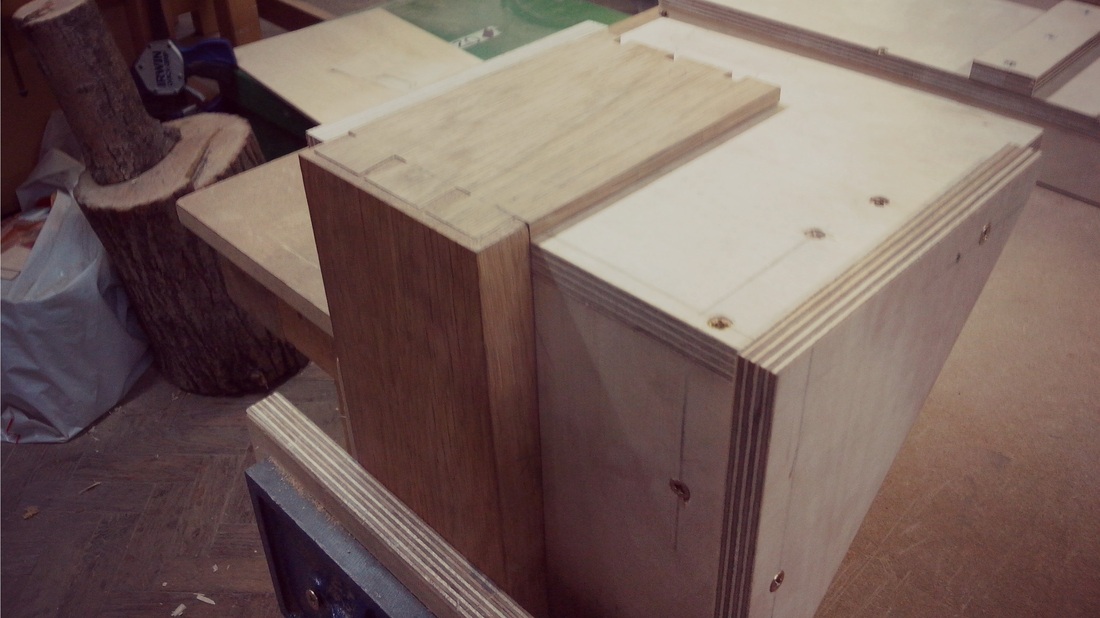
My first job of the year is to make a couple of radiator covers which will be painted and instaled as a fitted piece of furniture. I am also in the process of making a chess board, this was more of a self indulgence piece, as I have always wanted to make one.

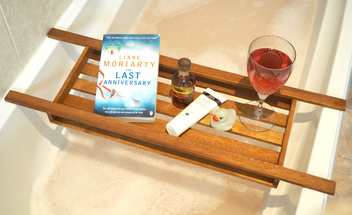
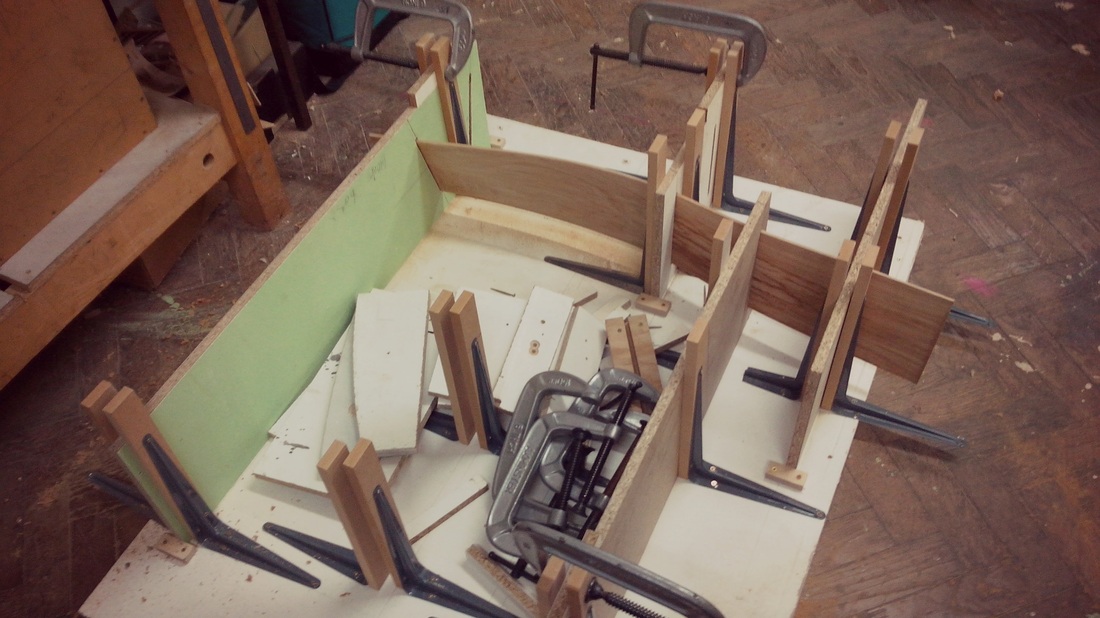
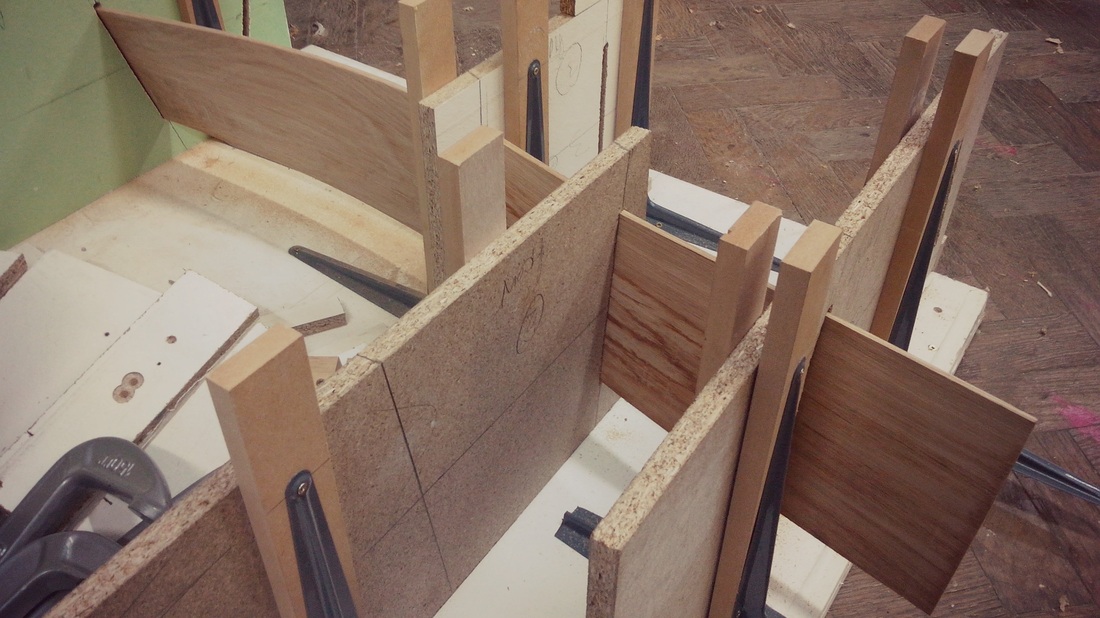
In the months running up to Christmas I was asked by my partner to make her a bath tray, a tray which rests across the bath to hold soaps and shampoo's while in the bath, and after making her one, she was asked by several people 'where do you get them from.' From these comments I started to make a small batch and began to sell them on Etsy and had great success selling them all.

I am looking forward to see what 2016 will bring and I am now looking forward to get back in the workshop to make some shavings.

Josh


0 Comments

Jigs, Jigs Jigs.....

4/14/2014

0 Comments

 
Although i haven't been making furniture for that long, i have made and used more jigs and aids in the past year, than the few years i have been training to make furniture. Making and using jigs can be one of the most useful things you do while you are making furniture.

A jig is a workshop made tool or aid which will help you perform a specific task repeatedly and efficiently. They can come in all shapes and sizes and serve a wide variety of purposes. Below are examples of jigs and aids which i have made and used over the past years.

Although in initially it may take a while for you to design and make the jig, but in the long run, the time spent making the jig will
benefit you when making the piece of furniture.
Picture
A bench hook is a simple yet very effective jig. it consists of three pieces of wood in a certain arrangement which allow the board to hooked overt the edge of you workbench, allowing you to place your work piece against a fence to make a square cross cut.
Picture
Another jig which is very useful in conjunction with a bench hook is a shooting board. A shooting board allows you to perfectly square up ends of boards with a hand plane. The hand plane runs on a a bed at 90 degrees to a fence.
Picture
Here is a close up shot of a plane and a shooting board in action. The workpiece is places up against the fence and the hand plane runs along the bed slicing very thin end grain wood shavings off.

This jig was one of the jigs i have made and i wish i have made one years earlier.
Picture
Above is a jig which i made to be used on an over head router to allow me to create multiple compound angled through mortices. The jig runs along the bed of the over head router. The cutter is then lowered in to the workpiece which is clamped down on the the angled bed of the jig. The jig is then slid forwards and backwards, dropping the head each time cutting thought the work piece.
Picture
Picture
Above you can see how the over head router works and how the jig works with it. The workpiece is toggle clamped in place preventing in from moving while the router is cutting.
Picture
Above is large jig which helped me create a side table, a blog post will be up soon about it. The jig held all of the shelves in the correct place in space. I then steam bent some 6mm thick oak slats which then went through the corresponding slots which gave structure to the piece of furniture.
Picture
Above and below was a test in which i steam bent an oak slat and then forced through the corresponding holes.
Picture
Picture
Above is a small jig which allowed me to create small trays repeatedly for a small project. The Pieces of plywood which are all cut to the same size and the wedged in place from the underside. Then a router with a guide bushing was the used running around the edge of the template creating the desired shape.
Picture
Above is a jig which i use for marking out dovetails. After cutting the tails i use this jig because in holds the two pieces at perfect right angles and also allows me to clamp my work enabling me to mark out precisely,
Picture
Picture
The jig is very simple, but very effective which allows me to precisely mark out my dovetails.
Picture
This final jig is very crude but it served the purpose of making and angled cut on the band saw. This jig runs along the side of the table allowing me to make a small straight relief cut.
Picture
To end, jigs don't have to be really extravagant pieces of work they could be simple pieces which allow you to perform specific task. Don't underestimate the use of a jig, they can massively help you do repetitive work easily and accurately

If you have any jigs you would like me to share or have any questions about jigs, please get in touch, i hope you enjoyed this and found it useful.

Josh Hall
 
0 Comments

Top Tool Tip - Feeler Gauge

4/11/2014

0 Comments

 
Here is a handy little tip some people may find interesting

A feeler gauge is a small tool commonly used in engineering to measure the clearance between to components or used within the automotive industry to measure and set the gap with in spark plugs.

A feeler gauge consists of pieces of steel at varying thicknesses, called leaves or blades. They can vary from 1mm right down to 0.05mm (very thin).

I use a feeler gauge in furniture making during a dry clamp up of a piece of furniture. I like to use the feeler gauge, normally the 0.05mm thickness blade, to feel if there are any gaps with in my joinery. If the blade slides in to the joint i know that there is a either debris on the joint face or the clamps are not pulling the joint together.
Picture
a feeler gauge is a small compact handy tool which is used to measure clearances between two components
Picture
there is a variety of thicknesses of leaves varying from 1mm to 0.05mm
Picture
a close up shot of the varying thickness of the blades on the feeler gauge
I hope you enjoyed this handy tool tip and make the most of this handy little tool, you may even have one laying about in the bottom of your tool box, get it out and use it to make sure that all of your joinery is tight.

if you have any more tips you want me to share please get in contact.

Josh Hall
0 Comments

    Author

    Write something about yourself. No need to be fancy, just an overview.

    Archives

    January 2016
    April 2014

    Categories

    All
    Feeler Gauge
    Furniture
    Josh Hall Furniture
    Tools
    Wood
    Woodwork

    RSS Feed

Powered by Create your own unique website with customizable templates.